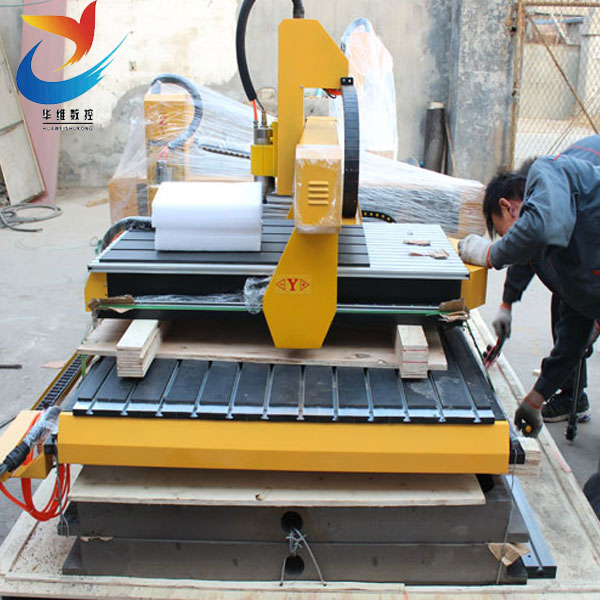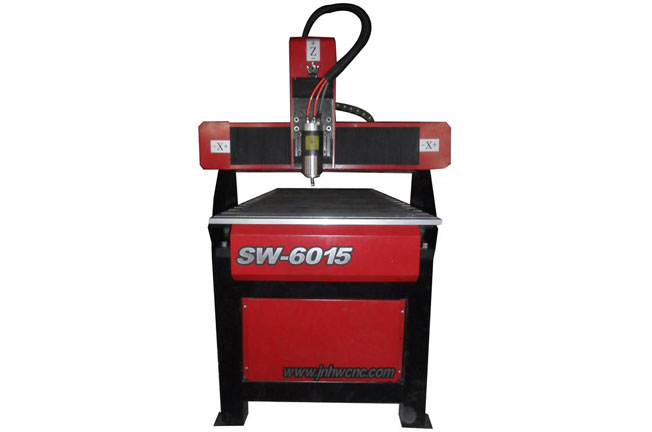

The installation process of advertising engraving machine includes the following steps:
1. Preparation work: Check whether the packaging of the equipment is intact, and confirm whether the model and specifications of the equipment are consistent with the order at the time of purchase.
2. Equipment installation: Place the equipment on a stable ground, ensuring that the four foot pads of the equipment are in good contact with the ground to ensure the stability and accuracy of the equipment.
3. Connect power supply: Insert the power cord of the device into a power outlet and ensure that the power cord is securely connected.
4. Connect to the computer: Insert the device's USB cable into the computer's USB port and ensure that the USB cable is securely connected.
5. Install drivers: Install the corresponding drivers from the device manufacturer's website based on the device model and specifications.
6. Debugging equipment: Debug the equipment according to the user manual, including adjusting the level of the equipment, installing and adjusting the cutting tools, etc.
7. Testing equipment: After debugging is completed, conduct equipment testing, including the running speed, accuracy, and stability of the equipment.
8. Cleaning equipment: Clean the equipment after installation and commissioning to ensure its normal operation and service life.
The above is the installation process of the advertising engraving machine. It should be noted that during the installation process, the equipment should be operated strictly according to the user manual to ensure the normal operation and service life of the equipment.


