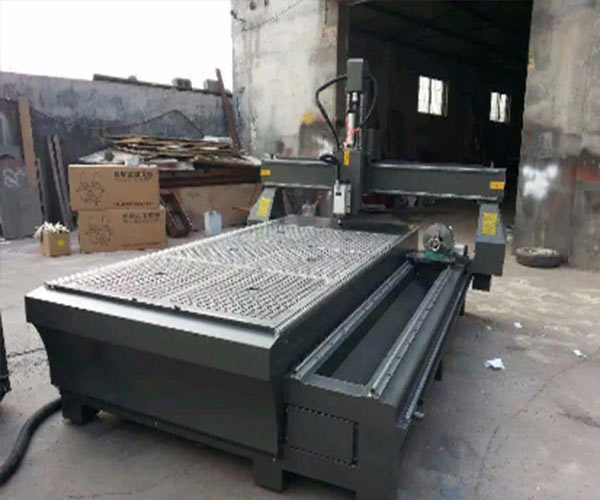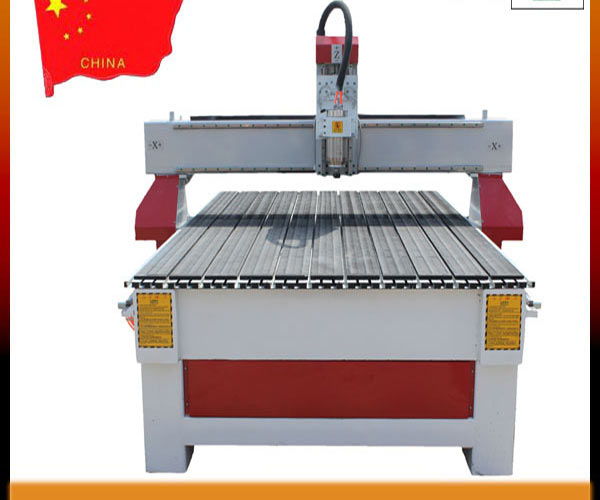

The installation process of a woodworking carving machine generally includes the following steps:
1. Preparation: Ensure that the work area is clean, install the bracket and wheels of the engraving machine, and check if the power and data cables are intact.
2. Install the spindle: Install the spindle on the spindle seat of the engraving machine to ensure a tight fit between the spindle and the spindle seat.
3. Install the motor: Install the motor on the motor base of the engraving machine, and connect the power and data cables of the motor.
4. Install the transmission system: Install the transmission system on the transmission seat of the engraving machine, and connect the power and data lines of the transmission system.
5. Install the control system: Install the control system on the control console of the engraving machine, and connect the power and data cables of the control system.
6. Debugging and testing: After installation, debug and test to ensure that all parts of the engraving machine can work properly.
7. Cleaning and maintenance: After installation, clean all parts of the engraving machine and perform necessary maintenance work to extend the service life of the engraving machine.
The above is the installation process of the woodworking carving machine. It should be noted that during the installation process, it is necessary to carefully read the instructions and follow the steps in the instructions to ensure the correctness and safety of the installation.


